Hello lovelies, how are you today? For my readers in the UK, did you have a lovely bank holiday weekend? For the rest, hope Monday wasn’t too hard on you. Anyway as you can tell from the title, I’m giving you a behind the scenes look at how I take Instagram flatlays.
*contains affiliate links
How I Take Instagram Flatlays
First off, I’m not a professional at it but I have picked up a few tips along the way since I started blogging. So if you’re struggling a bit, or find flatlays to be daunting then continue reading.
Decide
First off, you need to decide what kind and the purpose of the flatlay. By that I mean, is it lifestyle related? Is it fashion or tech? You get my drift. Once you work that out, then you need to determine what’s it for. Is it just to add something to your Instagram feed? Or, is it to tell a story? Sell a product or service? It’s important to know these things because it will shape what goes into the flatlay.
Props and Backdrops
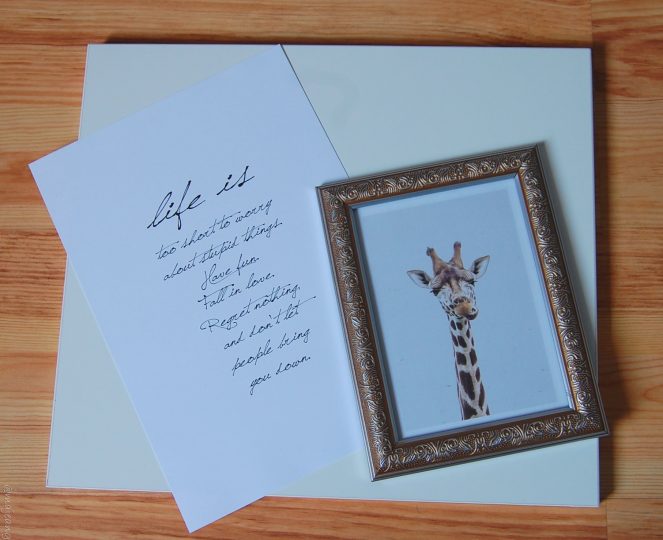
When I started out on Instagram, I saw all these beautiful flatlays filled with amazing backdrops and thought I couldn’t achieve that! Then I did a couple of workshops and spoke to professionals only to realise that they are easily (and cheaply) purchased.


Some things you can use include but aren’t limited to are…..
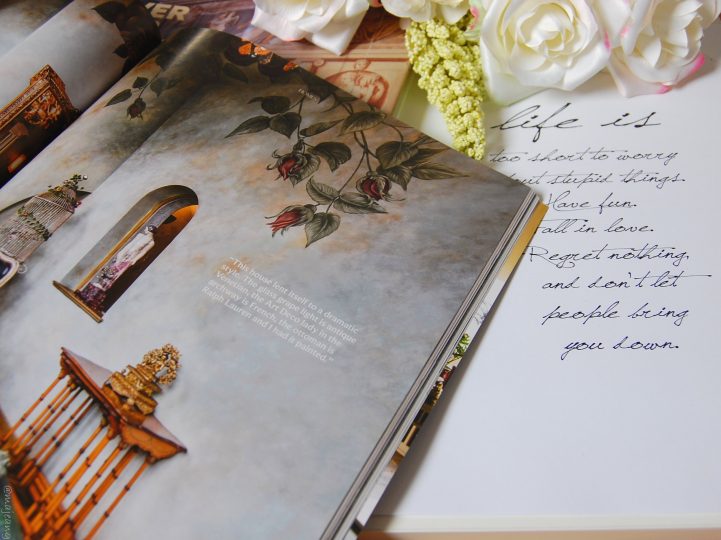
- Silk flowers – Amazon, eBay and Poundland are great for these
- Coloured paper – black paper creates a dramatic backdrop for metallics or food
- Notebooks with vibrant colour or a pretty scene
- Wallpaper – you can get samples for free from most places that sell them
- Use your hard wood floor
- Paper clips
- Rocks, stones or gems
- Spare shelves – I use one from an Ikea unit that I didn’t need
- Aluminum foil – saw a great article on photography props. You can read here.
There are loads more that I can think of but then it will be a really long post and my fingers will hurt. But, the idea is to use what you have around you to compose a beautiful image.
Lighting
The number of times I was told or read that lighting is the most important thing was ridiculous! However, they’re right because it is important. Bad lighting can make a beautifully composed photo look like crap! So aim for natural lighting and if you can’t then, fake it. A white sheet or backdrop with curtains wide open have worked for me. You can also try Lumi lights from Manfrotto which gives more of a natural looking light, so you don’t end up with a yellowish tinge. I really want to get a couple of these lights as my photography kit improves. Lighting can also be a prop, especially if you use neon signs. They can provide lighting and give something else interesting to look at, like these lights from Neon Mama. Plus I find neon lights can add a futuristic feeling to an image.
Composition
I’ve mentioned this before and you probably wondered what the hell I was talking about. So here it is, a composition refers to how you put together elements to create one image. Essentially, it’s looking at how you place items, what draws your eye to which items, how the light bounces off or reflects and so on. So the success of Instagram flatlays depends mostly on lighting and composition of the items used, at least from my perspective.


Equipment
For most of my flatlays, I use my smart phone. Currently, I have the Samsung S7 and I love it! I have always loved the Samsung S range (I’ve had the S4 and S6) because of the camera capabilities. It doesn’t really matter what brand phone you have as long as, it gives you clear, clean and crisp images. If I want to give a different feel to the image, I will use different lenses that I can attach to my phone. You can get them from Amazon for not a lot of money. Also, if you need to be in the photo, you can get a stand and angle the phone in the right position. This will work well if you’re taking a flatlay that included your hands, for example, applying nail polish with the other bottles in the background.
Editing and Post editing
I am not the biggest editor and as I uplevel my skills, my hope is that my photography editing will also be amazing. That said, I’m not awful at it because I’m not one for overly editing my images. I’m a firm believer in less is more and keeping something as close to what it really looks like as much as possible.
There are 2 apps I currently use to edit my photos and that’s; Pixlr and VSCO. Pixlr has a similar feel to Photoshop but I find it a lot more straight forward to use. There are versions for your phone and desktop, which I use to edit photos for the blog. VSCO is great to apply a filter that isn’t overdone and tweak the colour balance. Apart from that and possibly using Instagram’s editing tools once in awhile, that’s it for editing. I’m in awe of those that can whizz through 4 or 5 apps to create their flatlays.
I hope I have given you enough information on how I take Instagram flatlays you can go out and try them out yourself. If you have any questions or tips then leave a comment below. It isn’t as scary as you think!
As always, thank you for reading and don’t forget to follow, or subscribe! I’m also on Bloglovin too 🙂
Until next time, be well!
x

